
This chapter describes how to install WebSphere Application Server version 8. It contains the following steps:
This section describes how to install the IBM Installation Manager.
To install the IBM Installation Manager
cd (need to add this to dir list) ./install
Figure 6-1 Installation Packages
Description of ''Figure 6-1 Installation Packages''
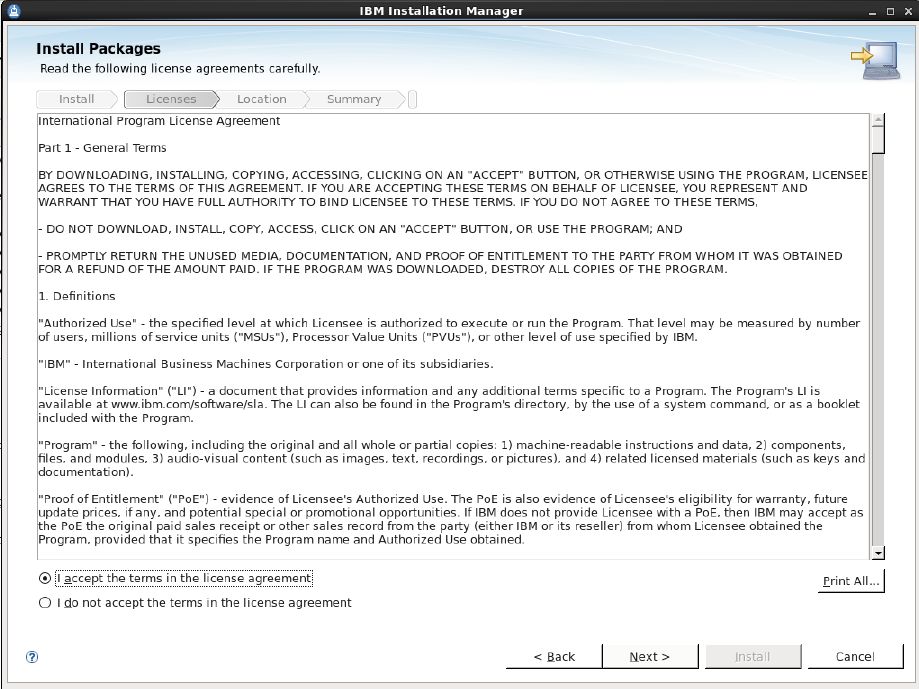
Figure 6-2 License Agreement
Description of ''Figure 6-2 License Agreement''
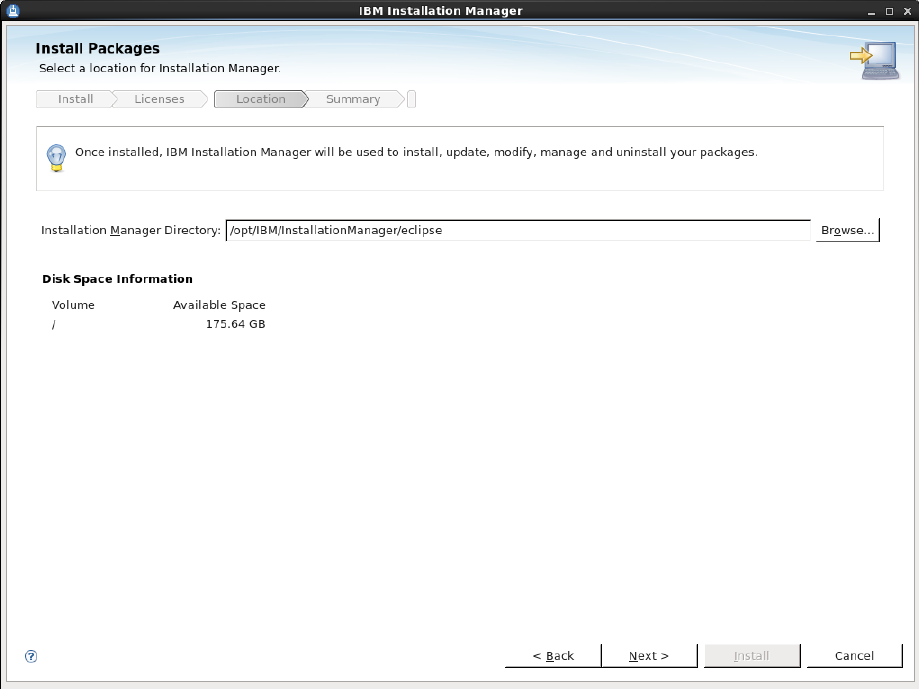
Figure 6-3 Installation Manager Location
Description of ''Figure 6-3 Installation Manager Location''
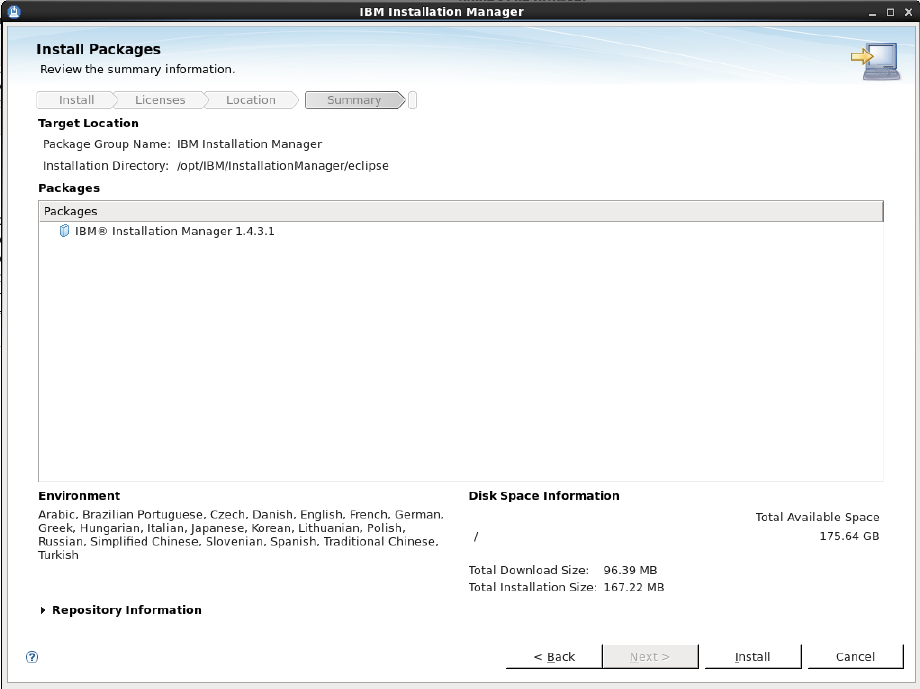
Figure 6-4 Target Location
Description of ''Figure 6-4 Target Location''
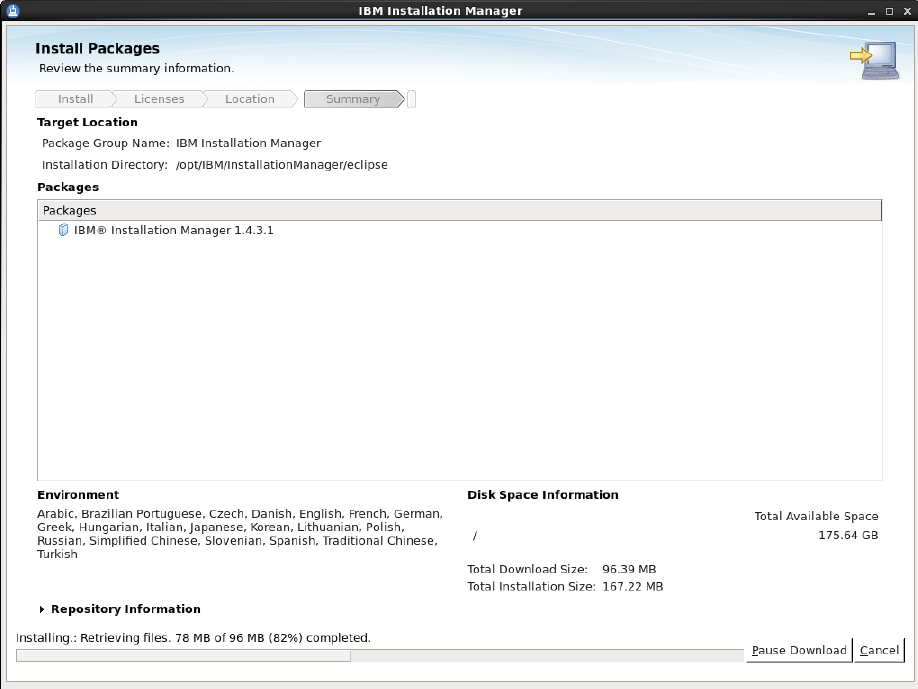
Figure 6-5 Installation Files
Description of ''Figure 6-5 Installation Files''
This section assumes you have successfully installed IBM IM.
To install WebSphere Application Server
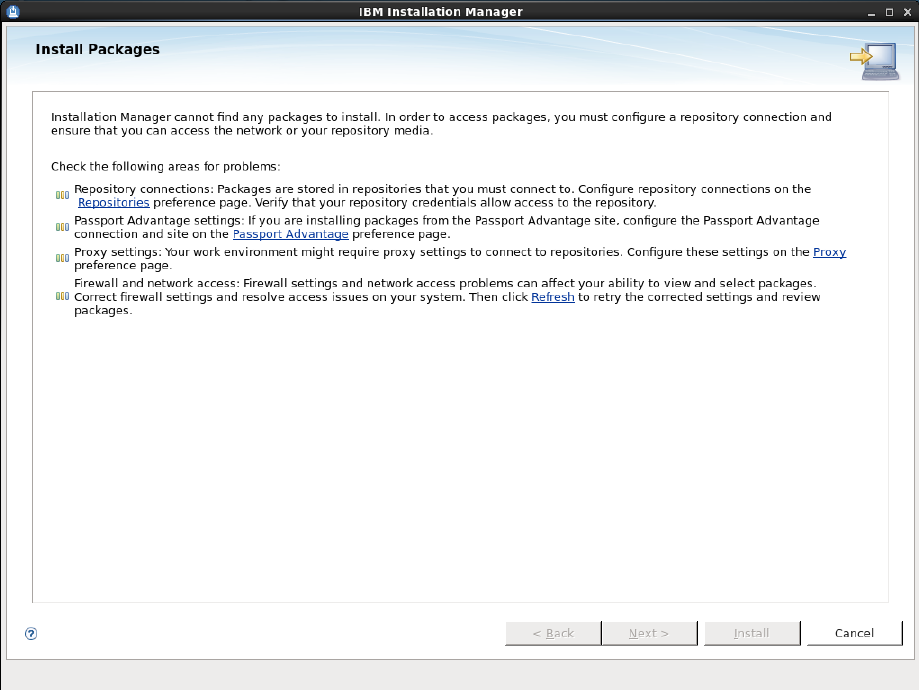
Figure 6-6 Repositories Link
Description of ''Figure 6-6 Repositories Link''
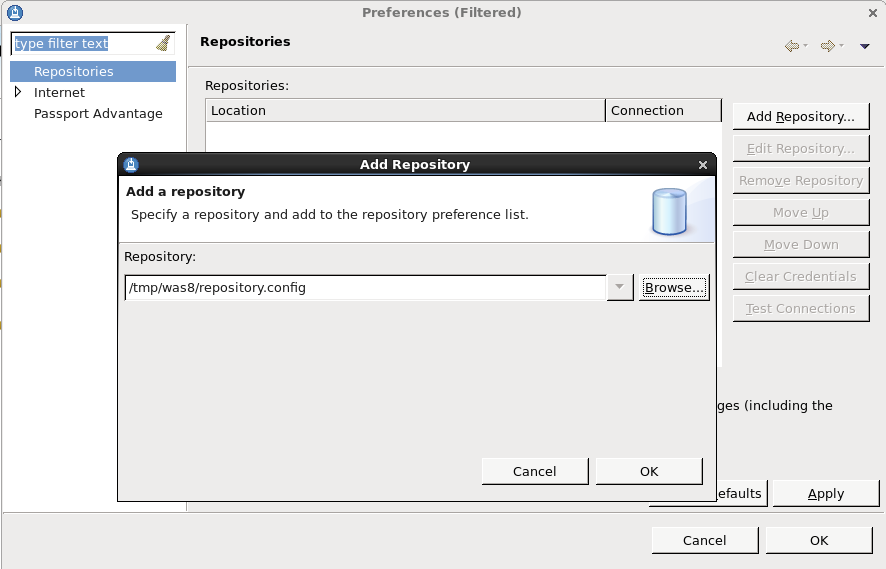
Figure 6-7 Add a Repository Dialog Box
Description of ''Figure 6-7 Add a Repository Dialog Box''
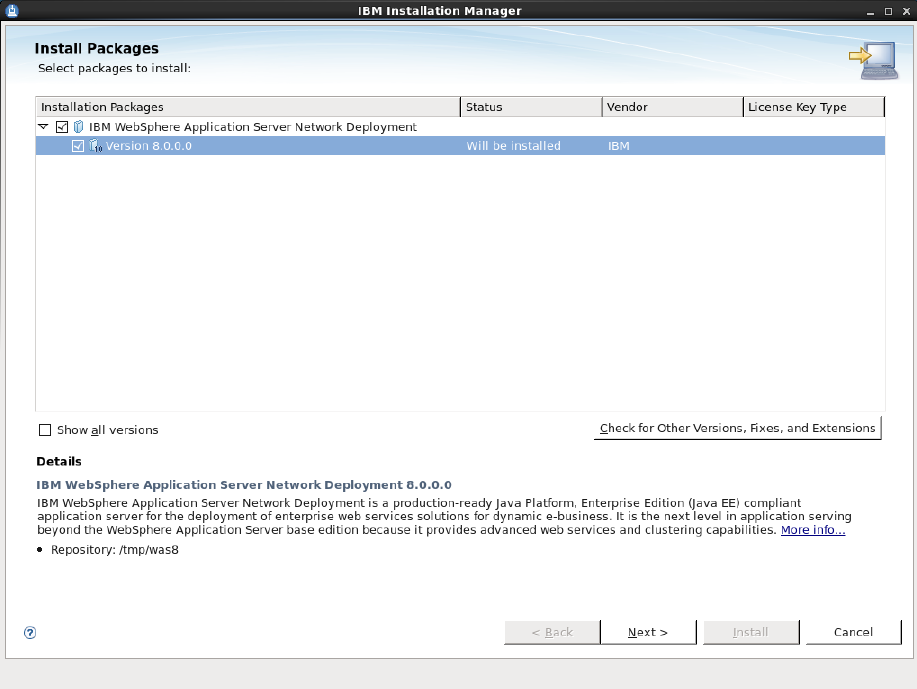
Figure 6-8 Version Selection
Description of ''Figure 6-8 Version Selection''
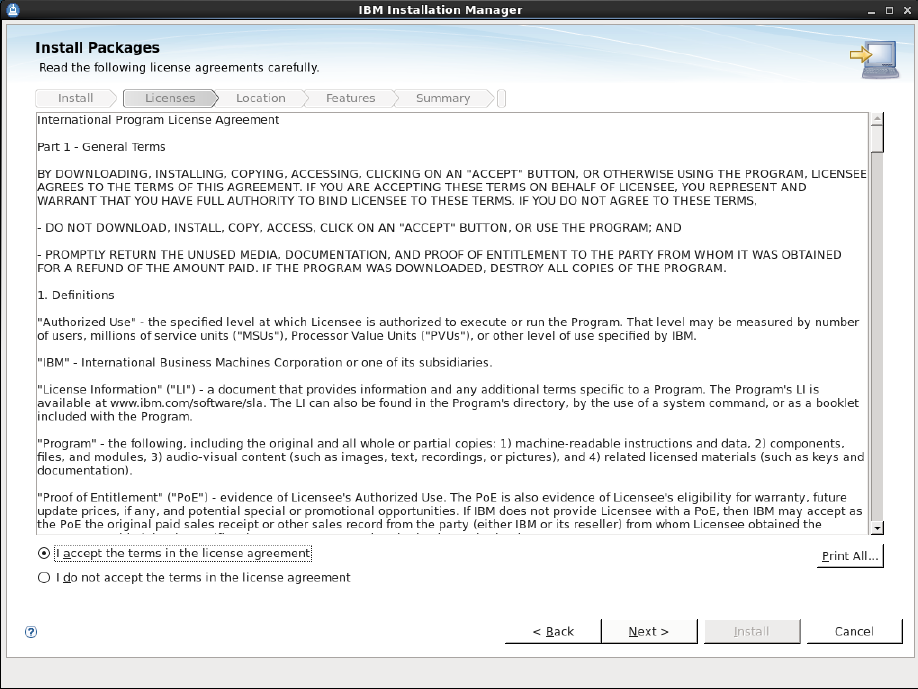
Figure 6-9 License Agreement
Description of ''Figure 6-9 License Agreement''
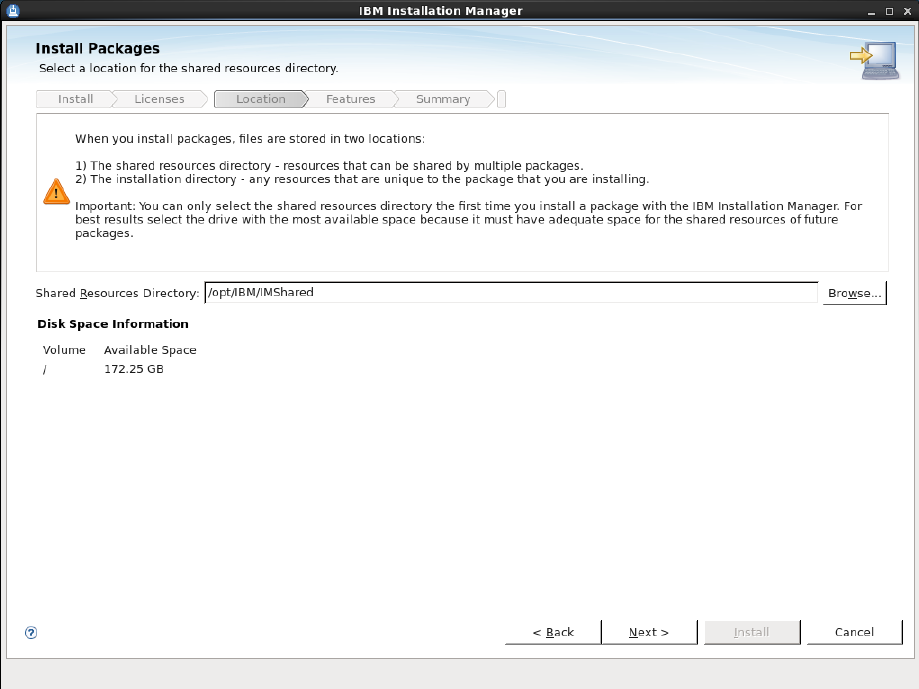
Figure 6-10 Shared Resource Directory
Description of ''Figure 6-10 Shared Resource Directory''
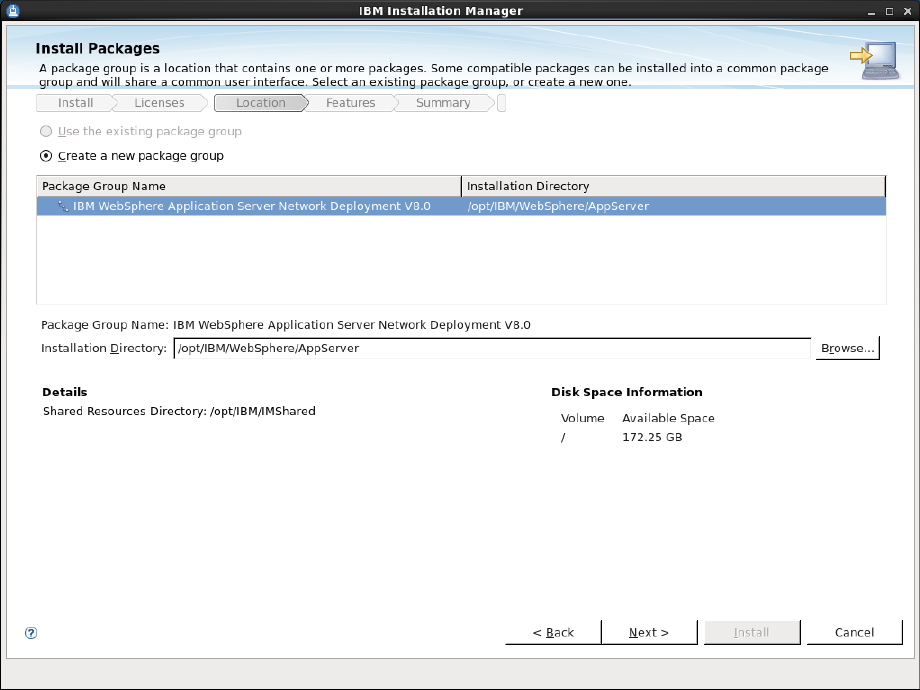
Figure 6-11 New Package Group
Description of ''Figure 6-11 New Package Group''
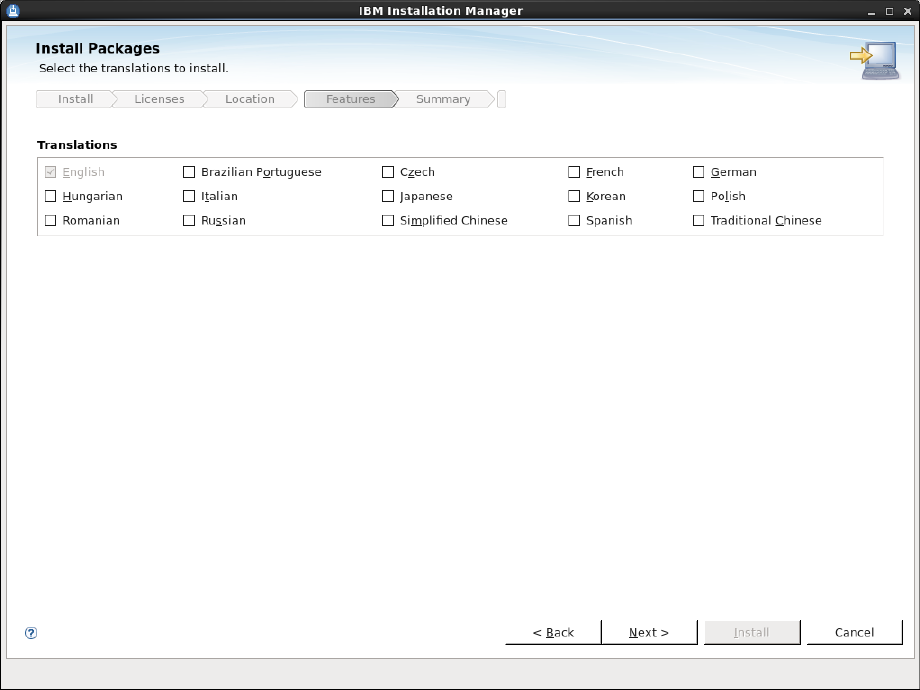
Figure 6-12 Translations
Description of ''Figure 6-12 Translations''
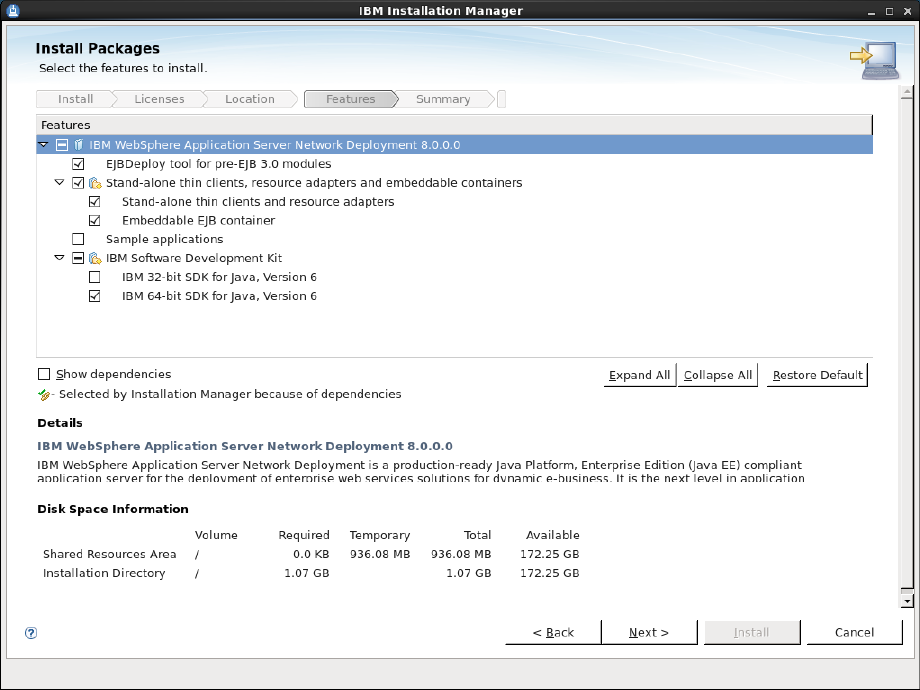
Figure 6-13 Application Packages
Description of ''Figure 6-13 Application Packages''
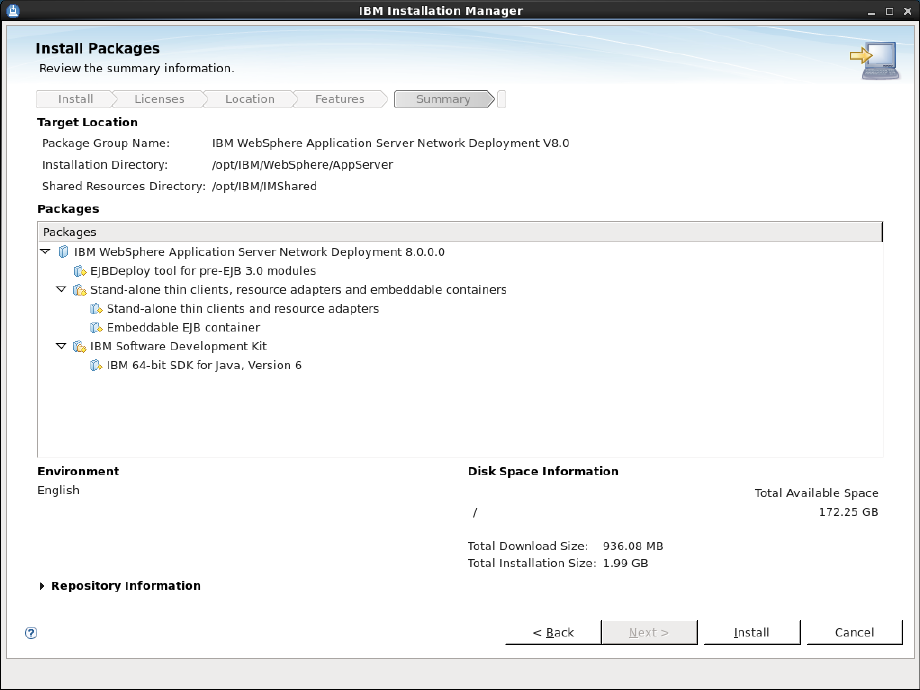
Figure 6-14 Selection Review
Description of ''Figure 6-14 Selection Review''
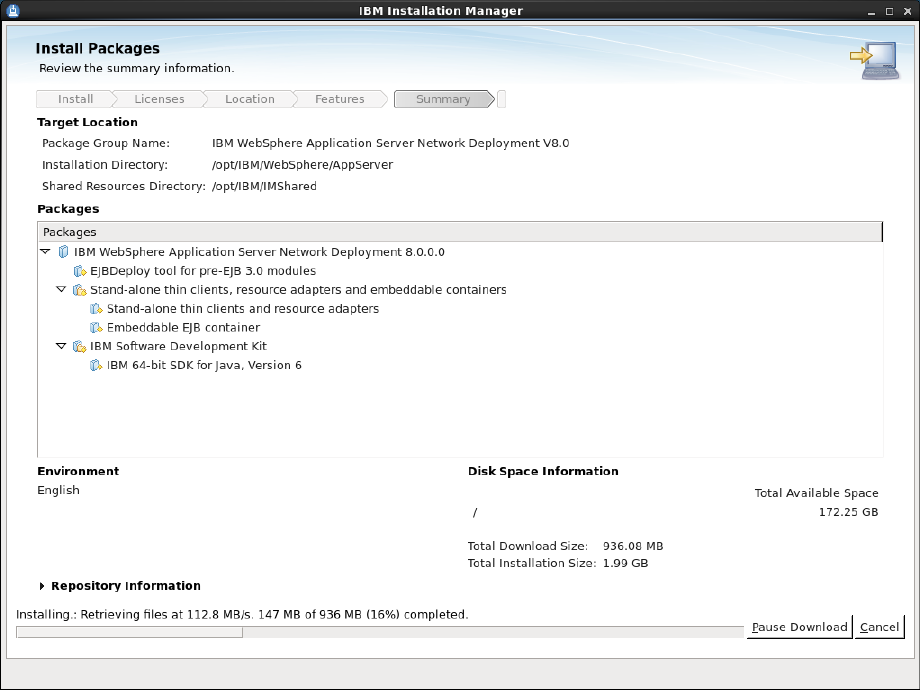
Figure 6-15 Installation in Progress
Description of ''Figure 6-15 Installation in Progress''
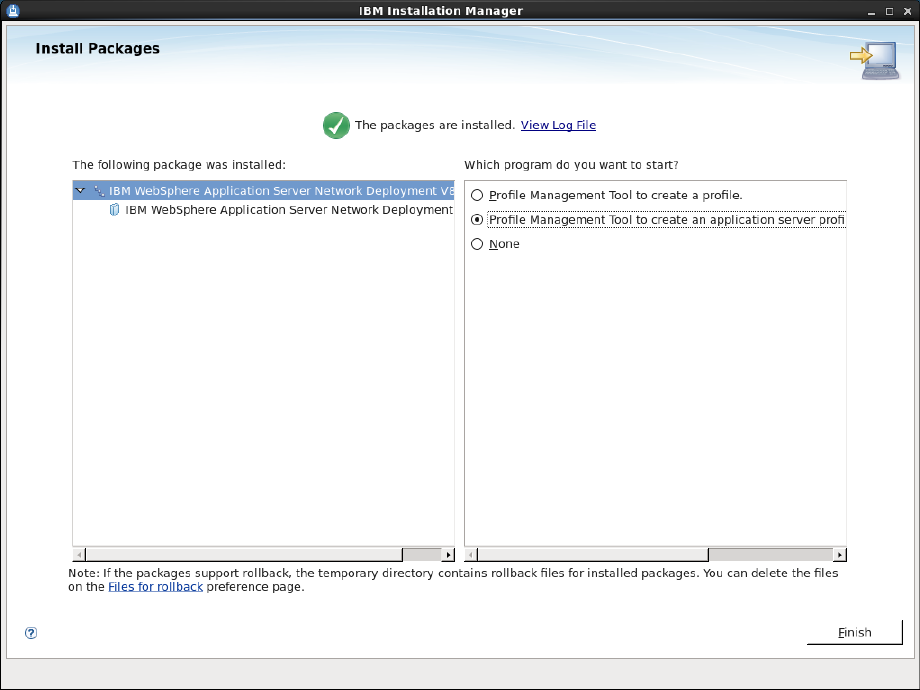
Figure 6-16 Profile Management Tool Selection
Description of ''Figure 6-16 Profile Management Tool Selection''
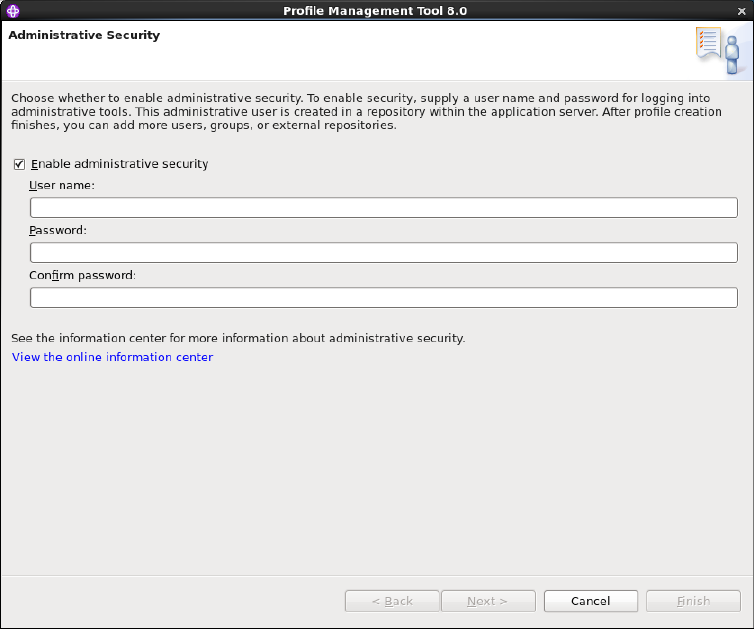
Figure 6-17 Administrative Security
Description of ''Figure 6-17 Administrative Security''
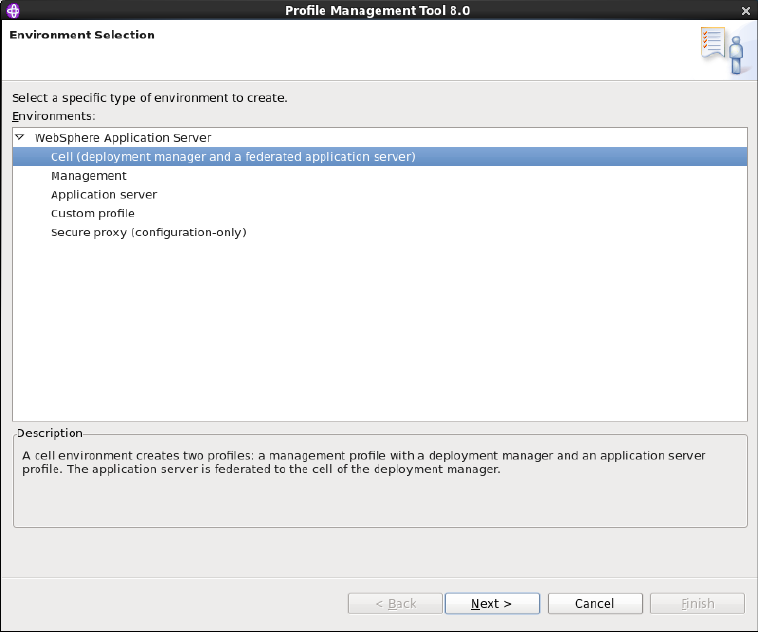
Figure 6-18 Environment Selection
Description of ''Figure 6-18 Environment Selection''
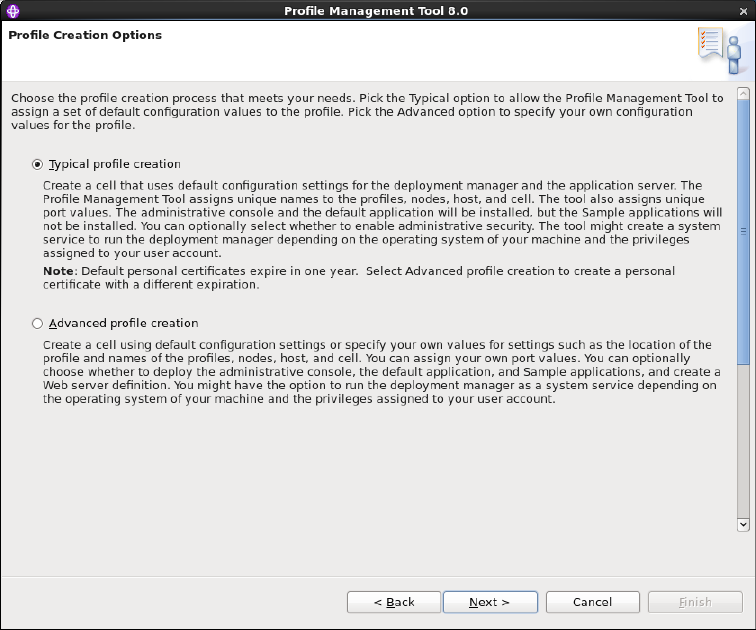
Figure 6-19 Profile Creation Options
Description of ''Figure 6-19 Profile Creation Options''
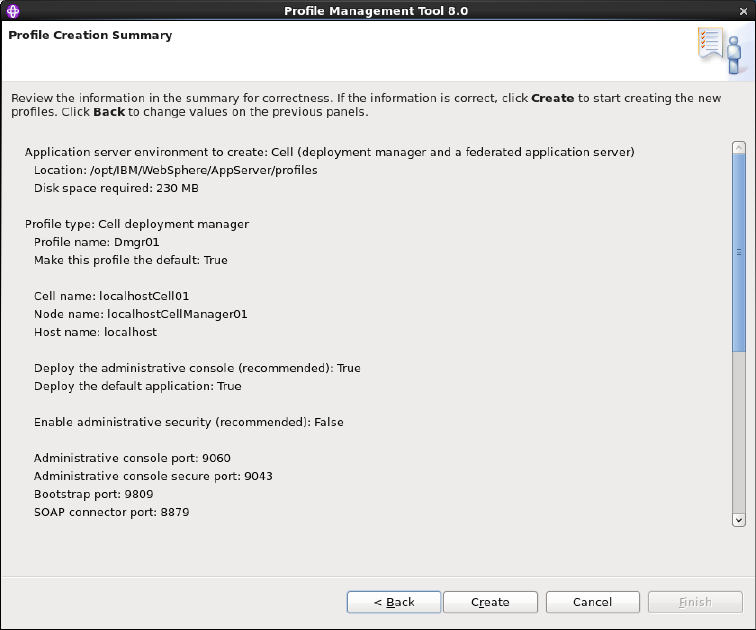
Figure 6-20 Profile Creation Summary
Description of ''Figure 6-20 Profile Creation Summary''
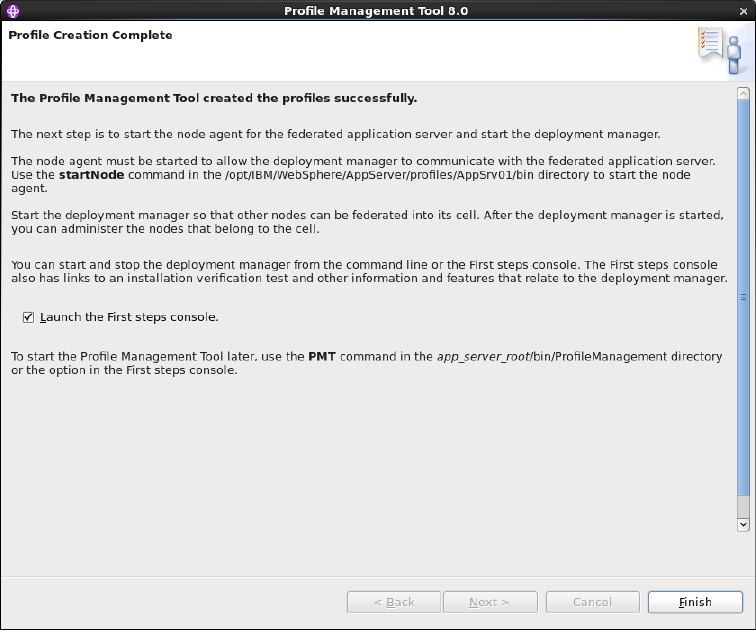
Figure 6-21 Profile Creation Complete
Description of ''Figure 6-21 Profile Creation Complete''
This section assumes you have successfully installed WAS8 and created a Cell env profile. This section provides instructions for updating WAS8.
To update WebSphere application server
When upgrading WebSphere, always upgrade the application server and JDK as recommended by IBM. Below are the steps for upgrading the application server. Repeat these steps for the JDK as well.
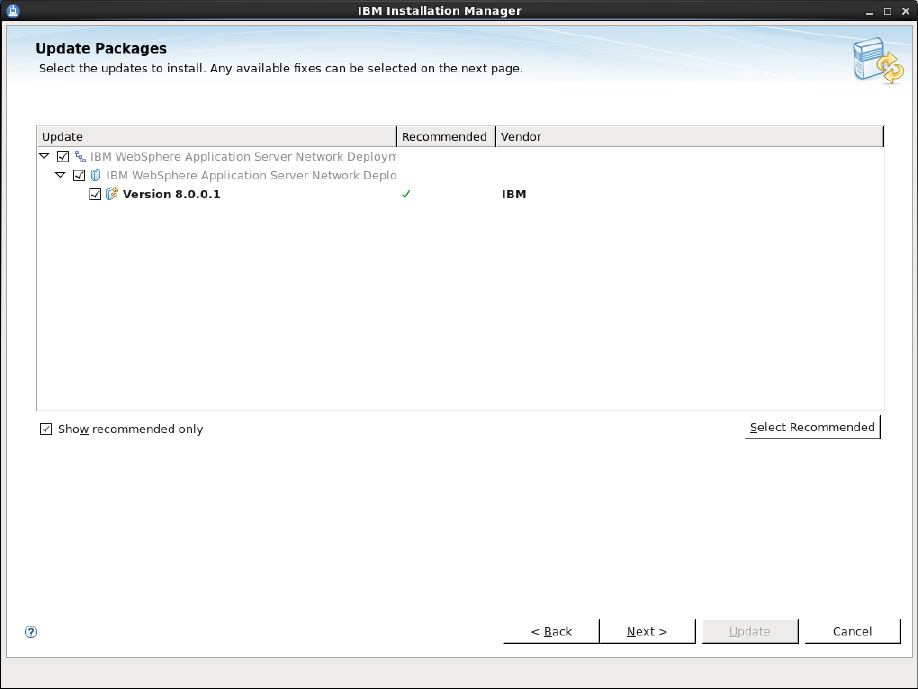
Figure 6-22 IBM IM Directory
Description of ''Figure 6-22 IBM IM Directory''
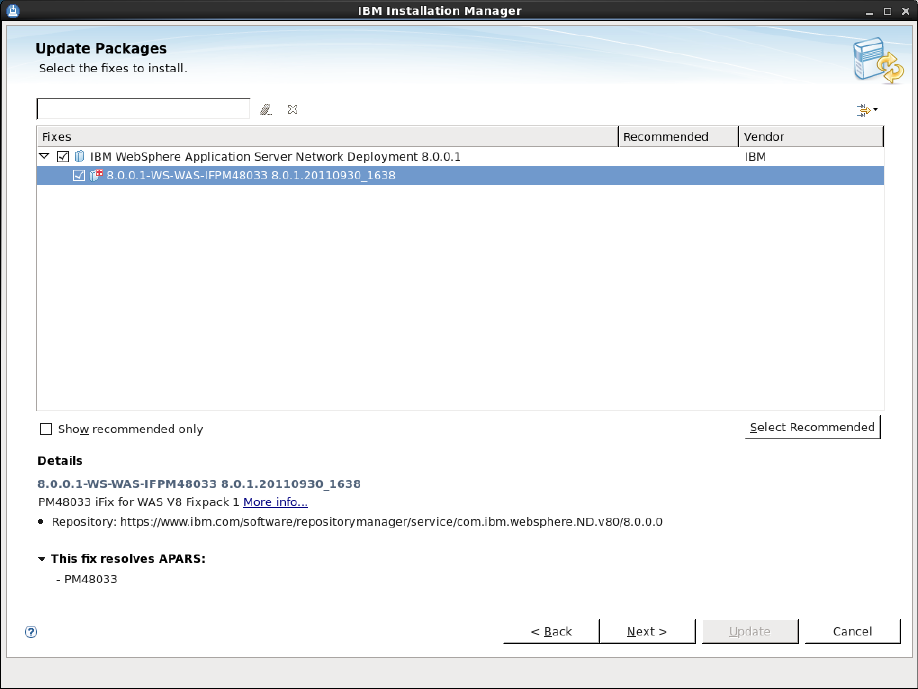
Figure 6-23 Fix Pack Selection
Description of ''Figure 6-23 Fix Pack Selection''
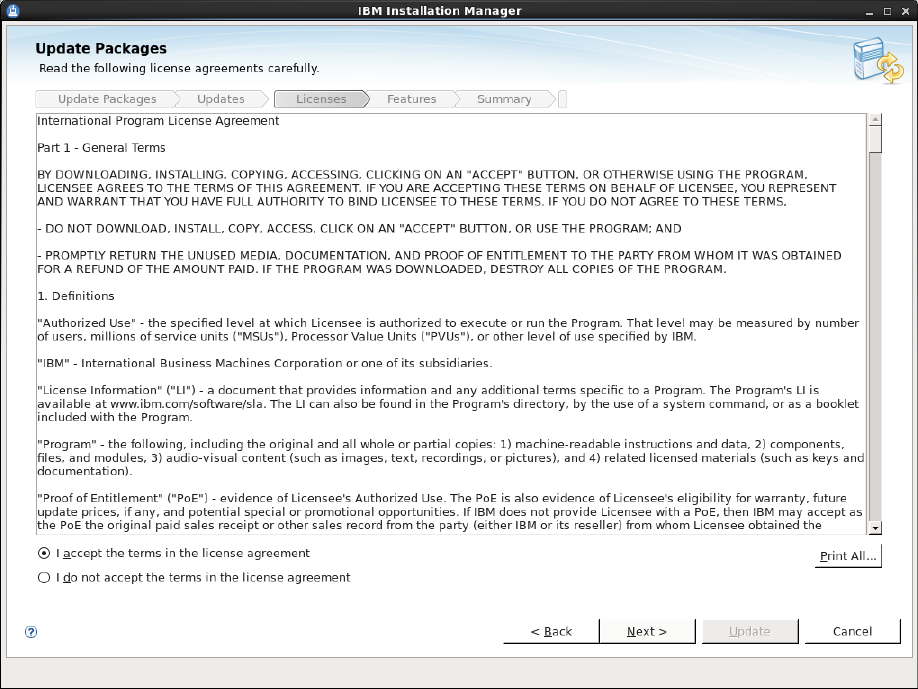
Figure 6-24 License Agreement
Description of ''Figure 6-24 License Agreement''
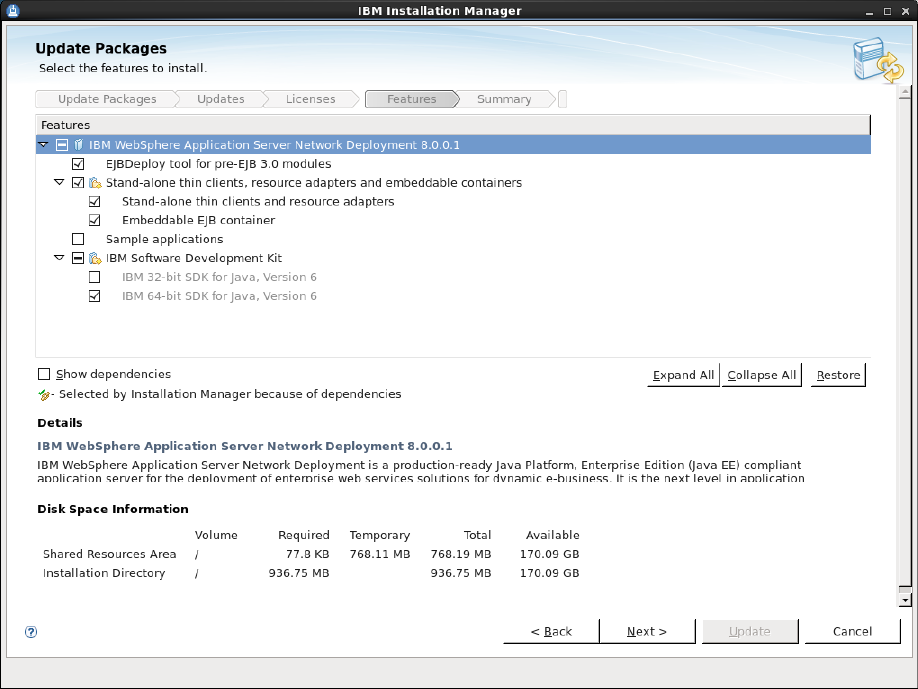
Figure 6-25 Features for Update
Description of ''Figure 6-25 Features for Update''
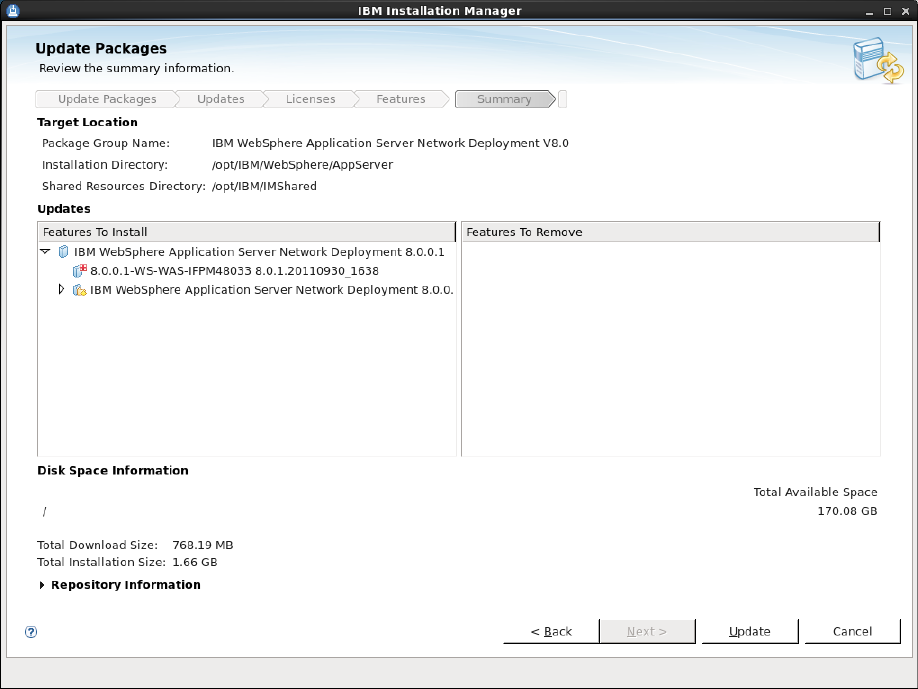
Figure 6-26 Update Process
Description of ''Figure 6-26 Update Process''
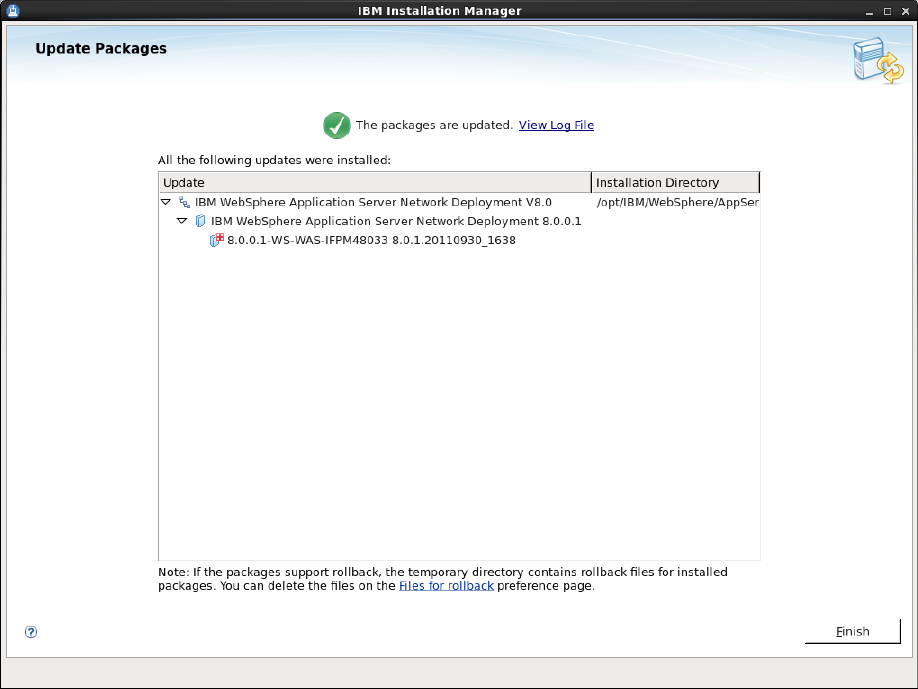
Figure 6-27 Update Packages
Description of ''Figure 6-27 Update Packages''